
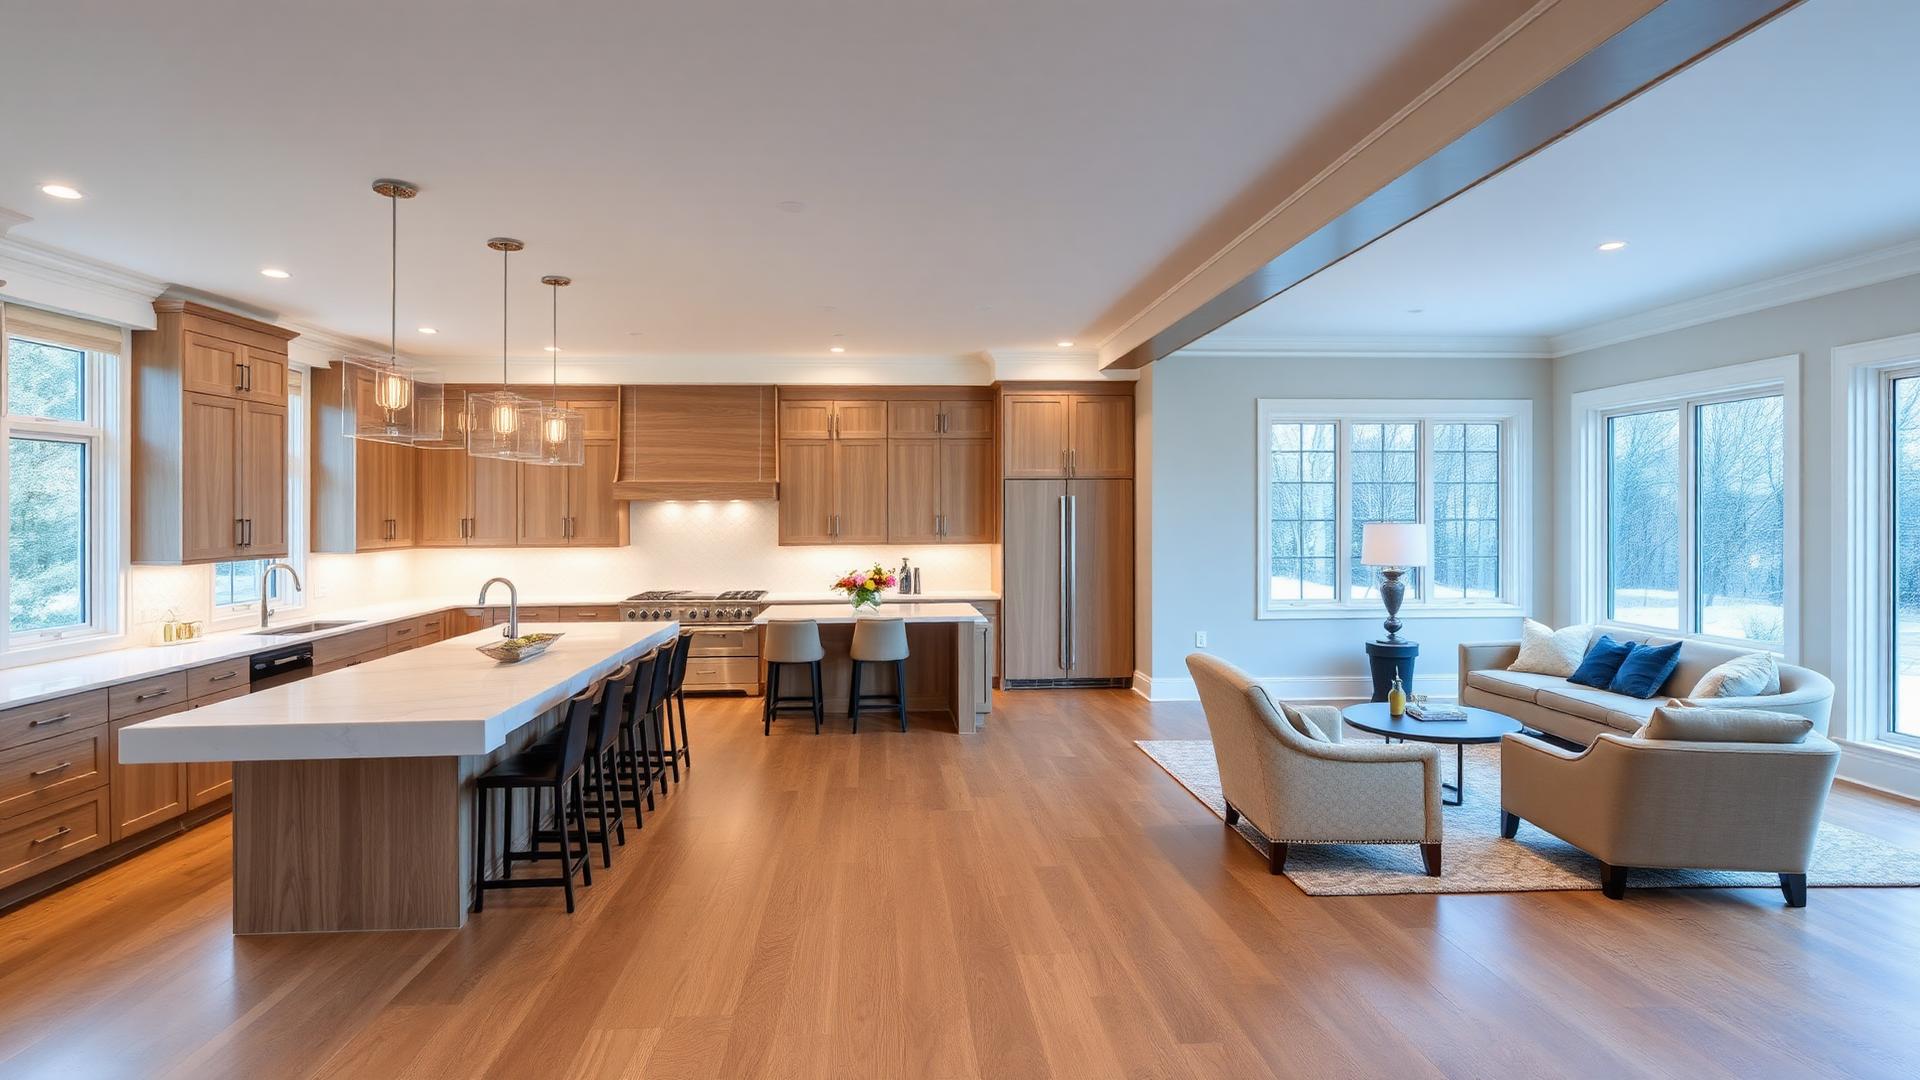
 Layer 01
Layout & Spatial Planning
Walls moved, openings widened, sightlines opened, and circulation rethought. The single most consequential layer of any interior remodel — and the only one that is locked in by framing.
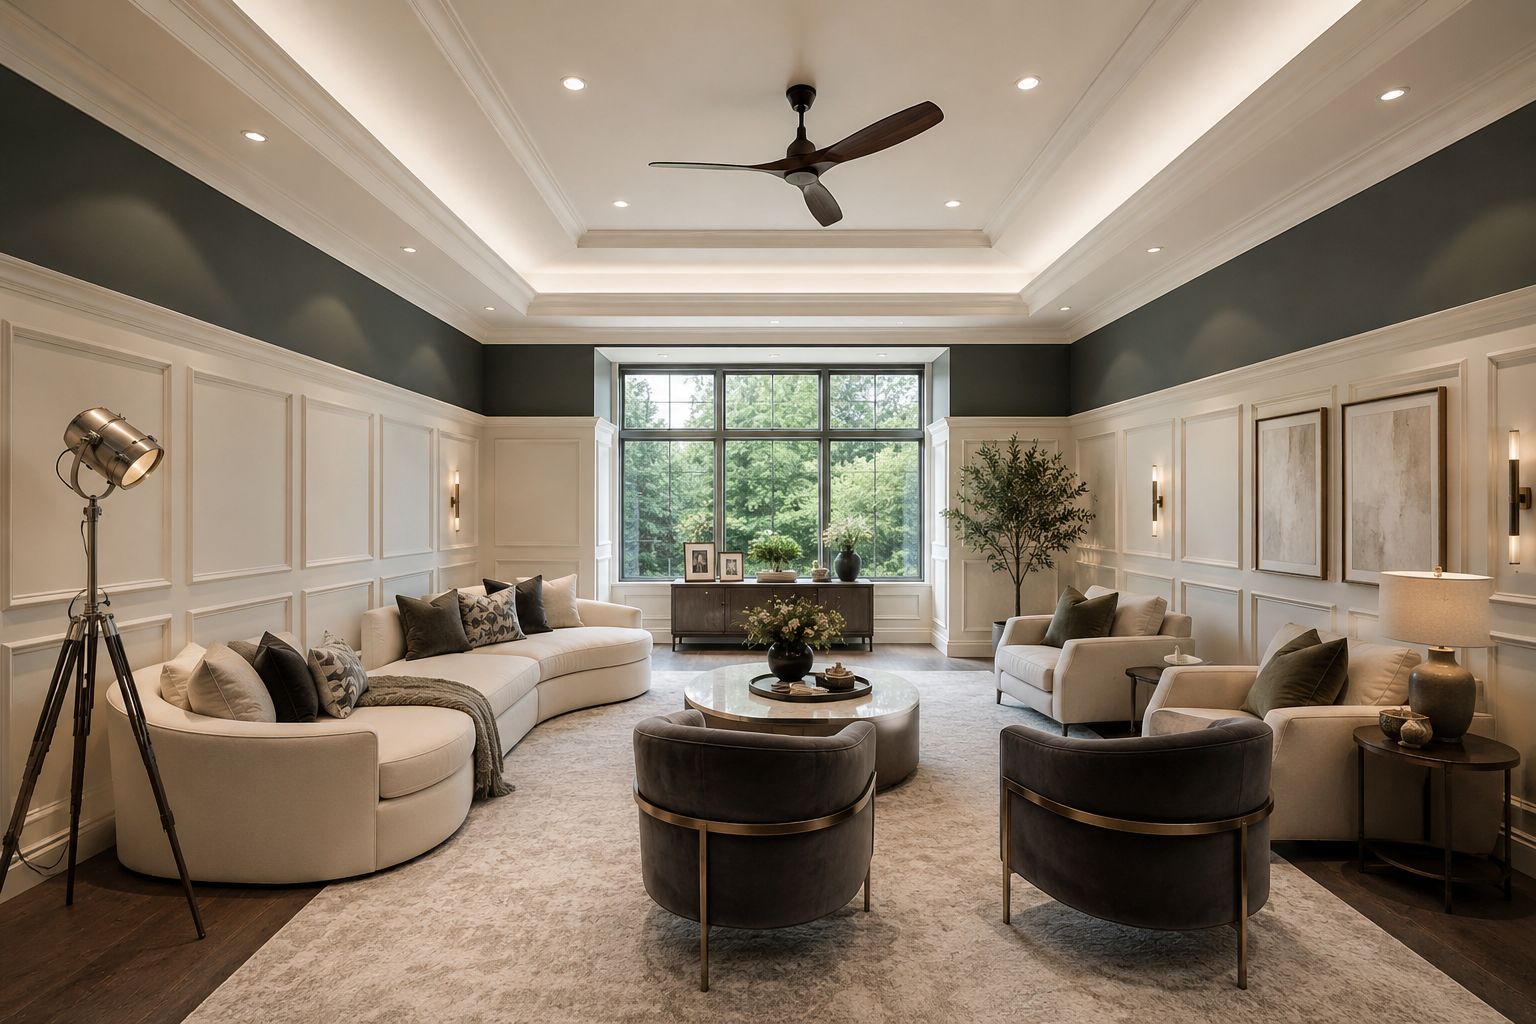
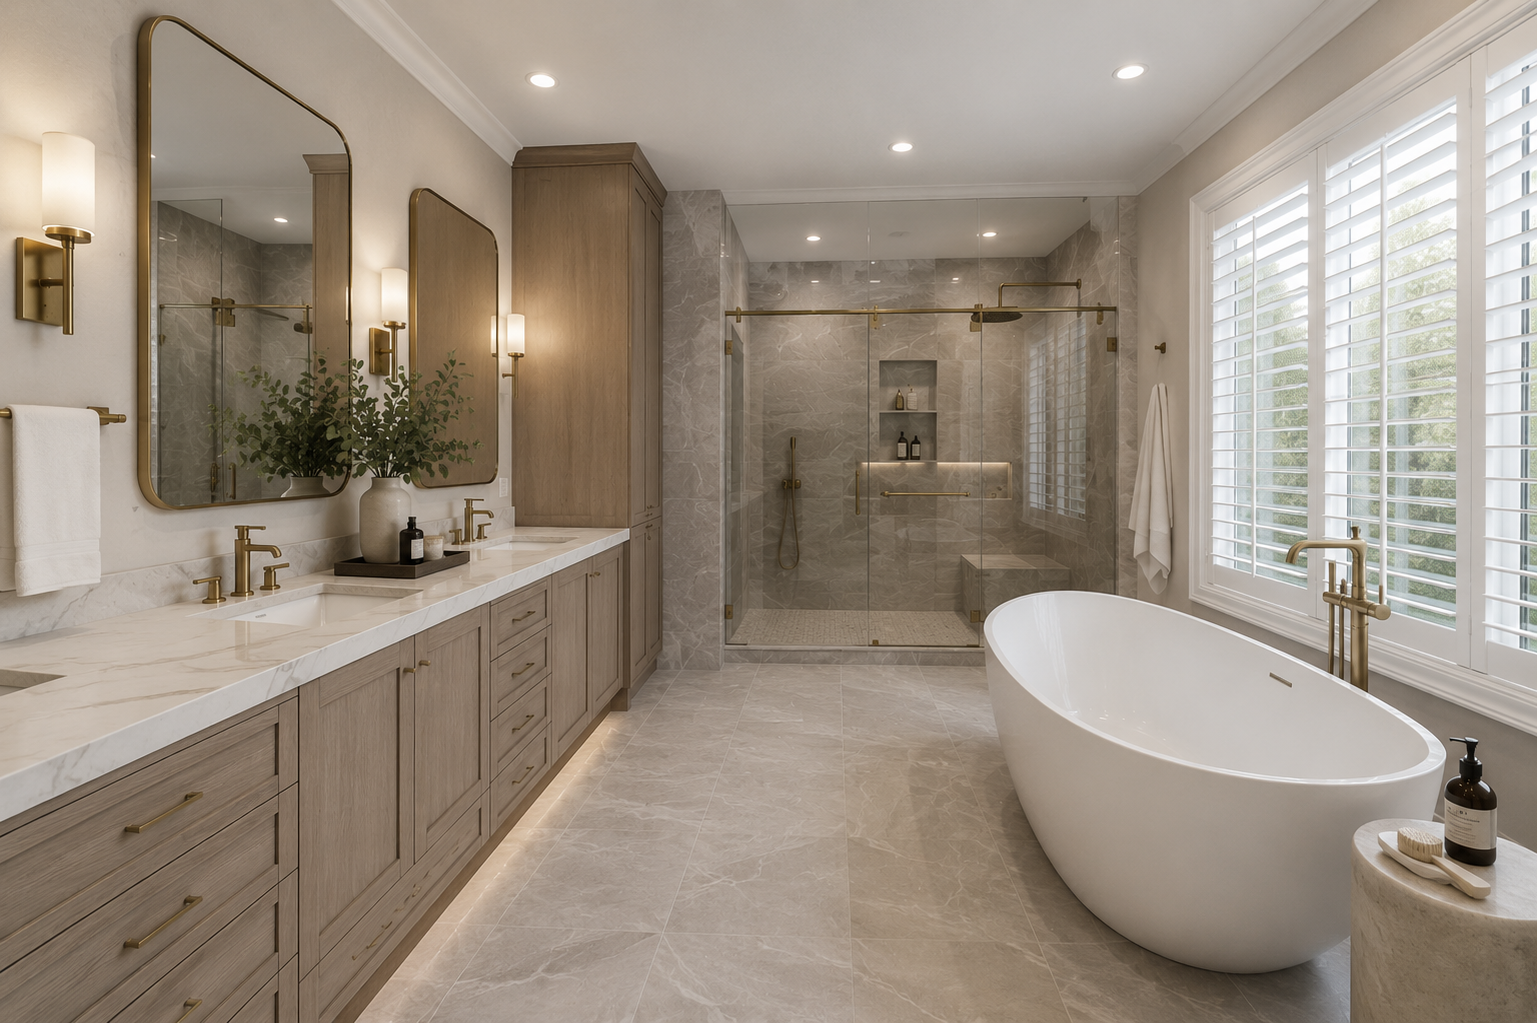
A Field Guide
What an interior remodel actually covers, the order good decisions are made in, and where projects quietly go wrong before anyone notices. Written from inside the trade — by a builder, not a search engine.
Read This First
The word remodel is doing a lot of work. It is used for swapping a vanity, for tearing out half a main floor, and for everything in between. The deciding factor is almost never the square footage involved — it is how many of the underlying systems are being changed: the framing, the ceiling, the electrical plan, the lighting, the millwork, the trim language, the flooring substrate, the finishes.
A serious interior remodel coordinates all of them. That is what this page is about. Not a sales pitch — a field guide. The six layers below are how we think about a project internally, in roughly the order they get decided. Skipping a layer, or deciding them in the wrong sequence, is the single most common reason a finished space feels like it never quite came together. For the room-by-room service pages, see our kitchen renovations, bathroom remodels and basement renovations. When the remodel expands beyond interiors, the same team also handles home additions, full whole-home renovations and new custom home builds.
Why This Page Exists
Chapter One
Six layers, in the order they are decided. Each one is set up — or quietly undermined — by the one before it.
Layer 01Walls moved, openings widened, sightlines opened, and circulation rethought. The single most consequential layer of any interior remodel — and the only one that is locked in by framing.
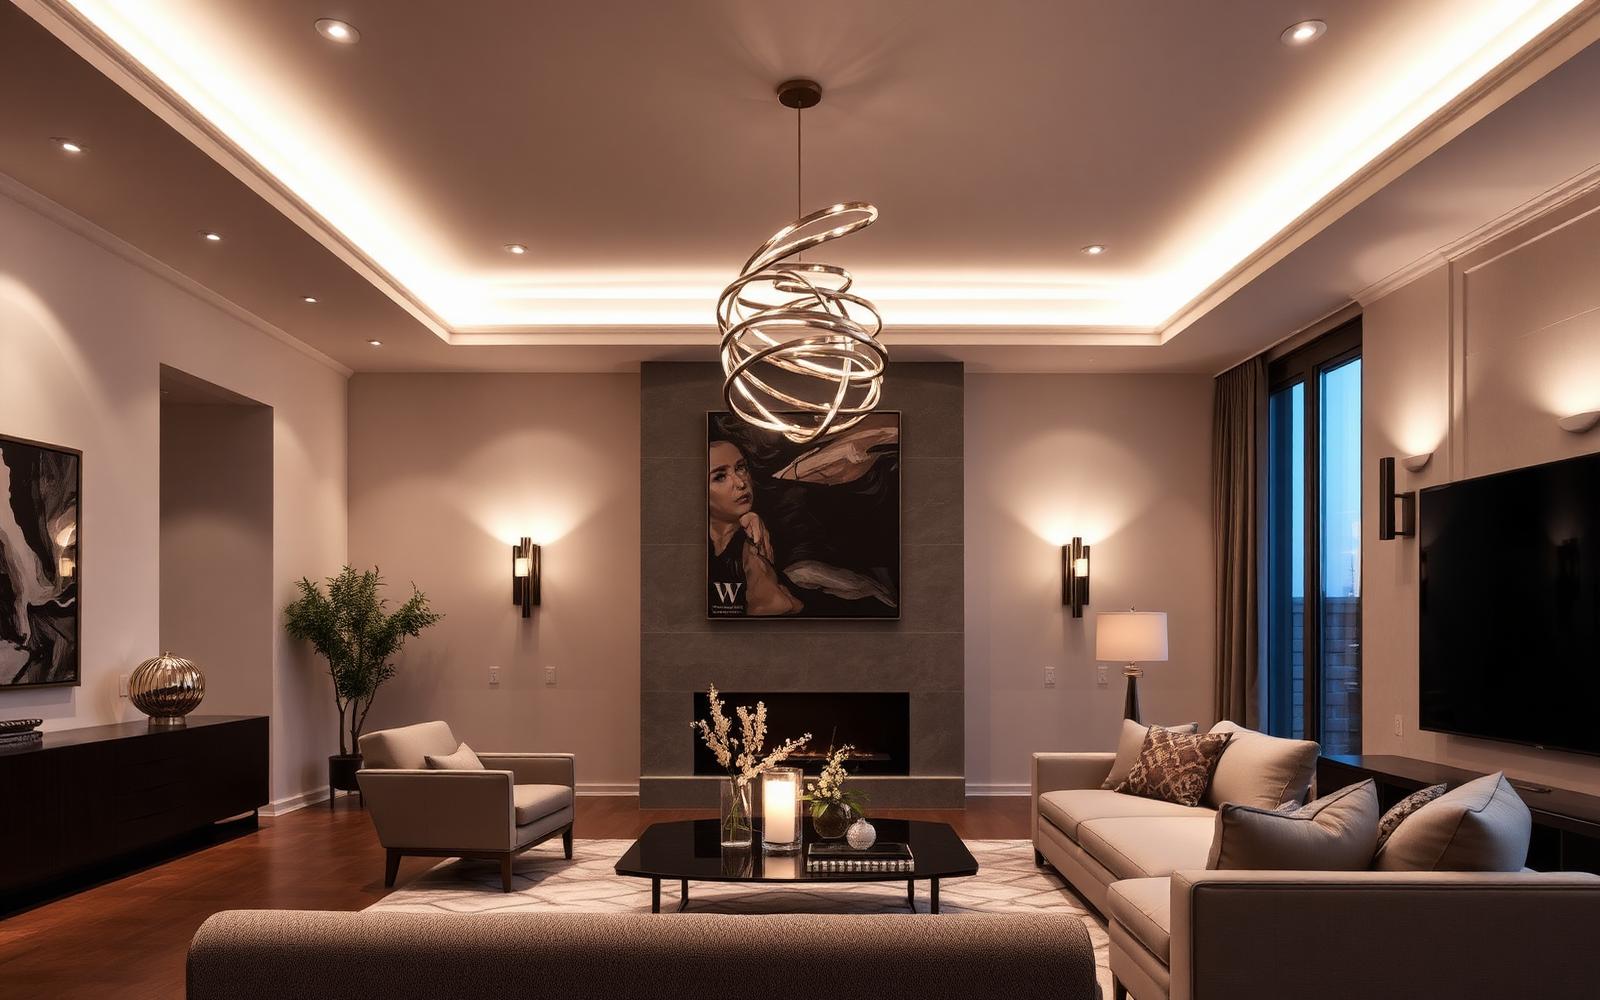 Layer 02
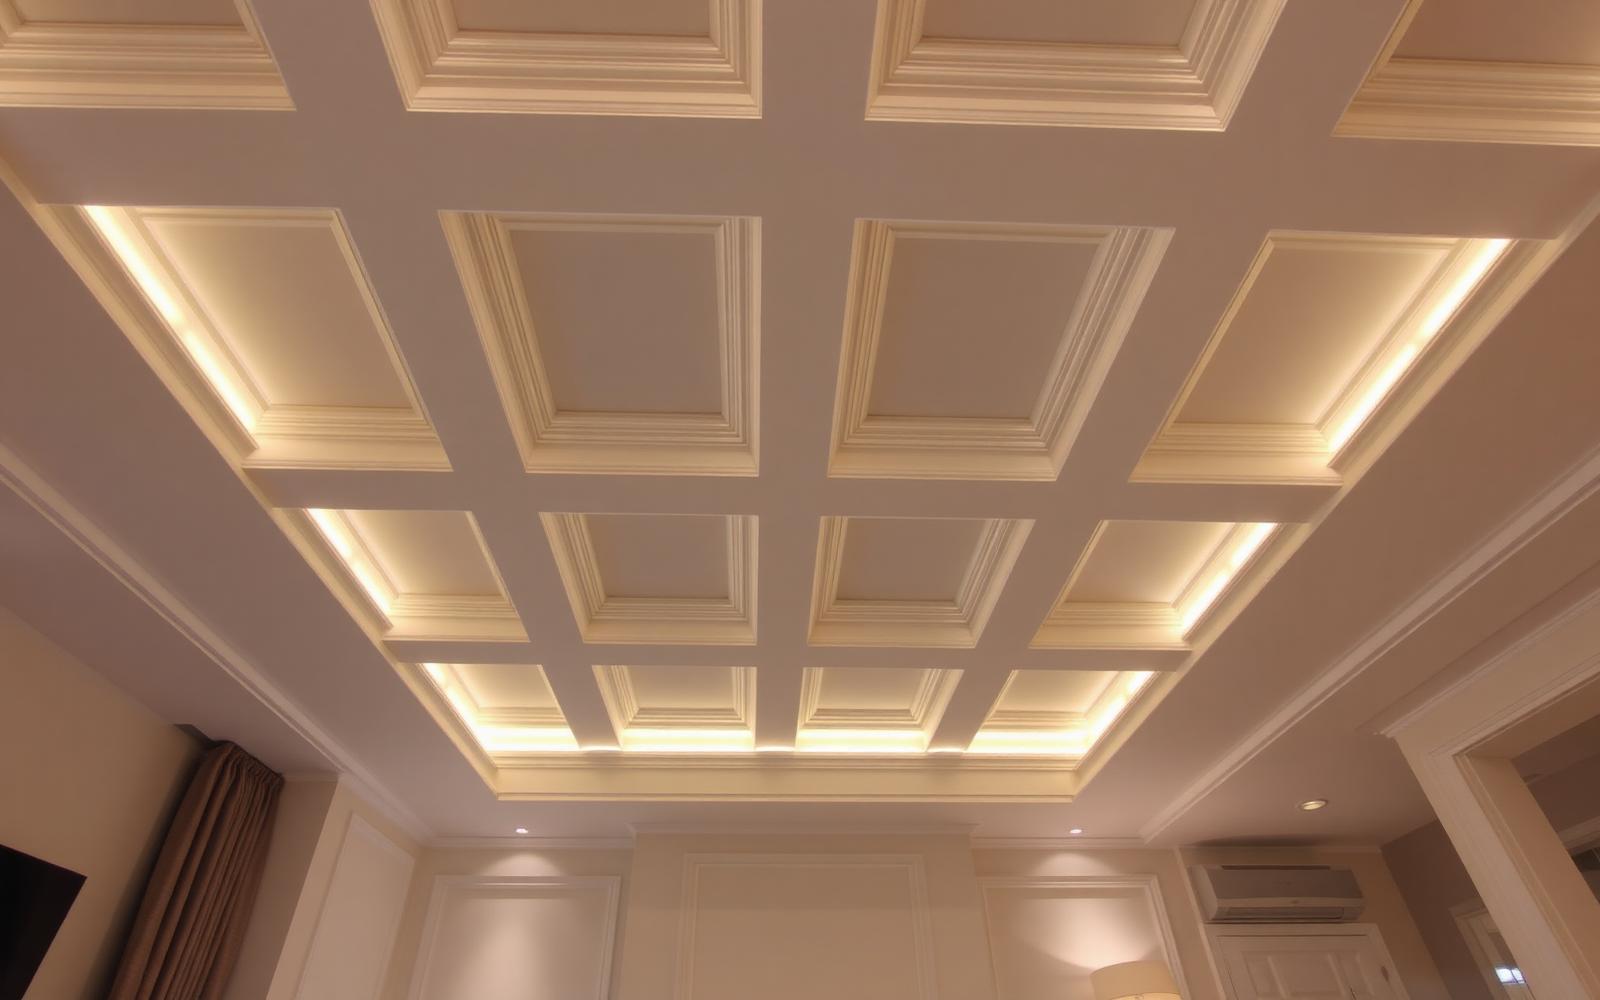
Recessed lighting, layered ambient, task and accent circuits, dimming, dedicated decorative fixtures and the electrical capacity to support them — coordinated against the ceiling before drywall closes.
 Layer 03
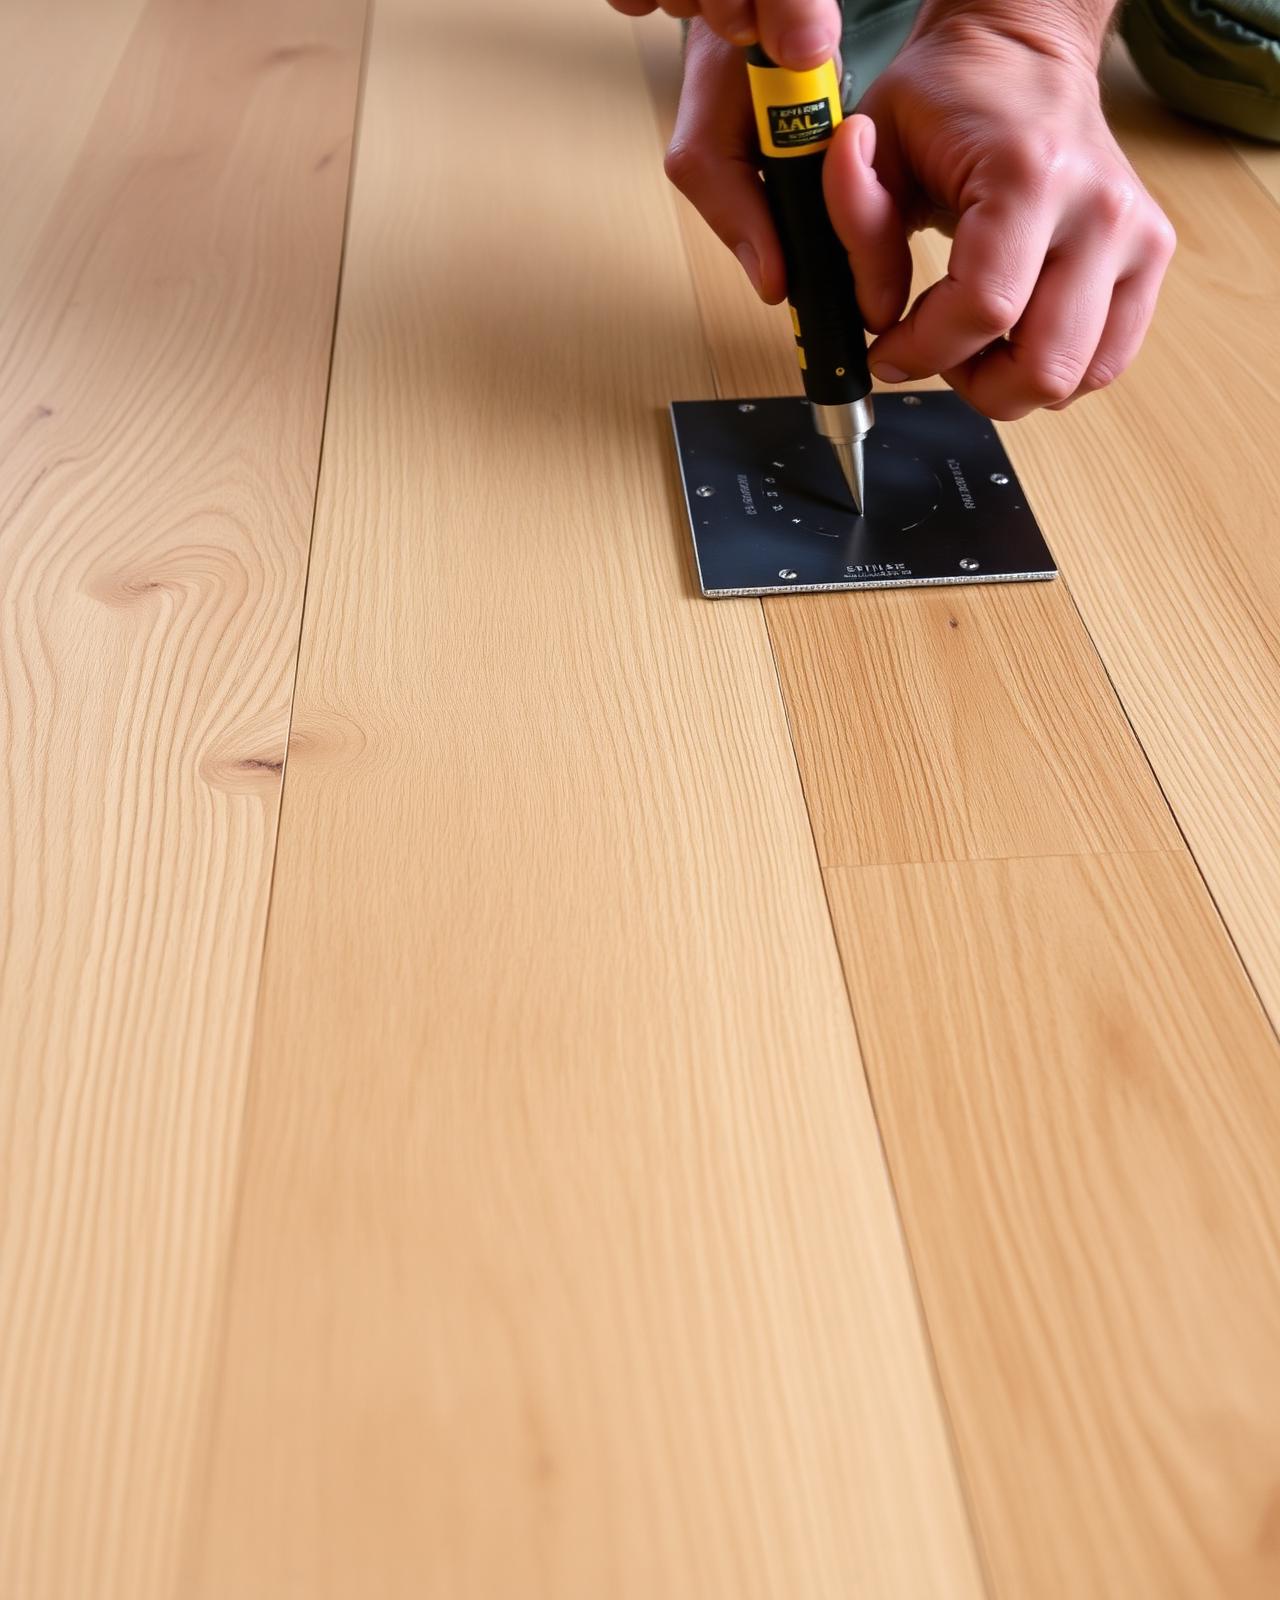
Levelling the substrate, transitioning between rooms without thresholds, choosing engineered or solid hardwood for the conditions, and resolving where stone meets wood.
 Layer 04
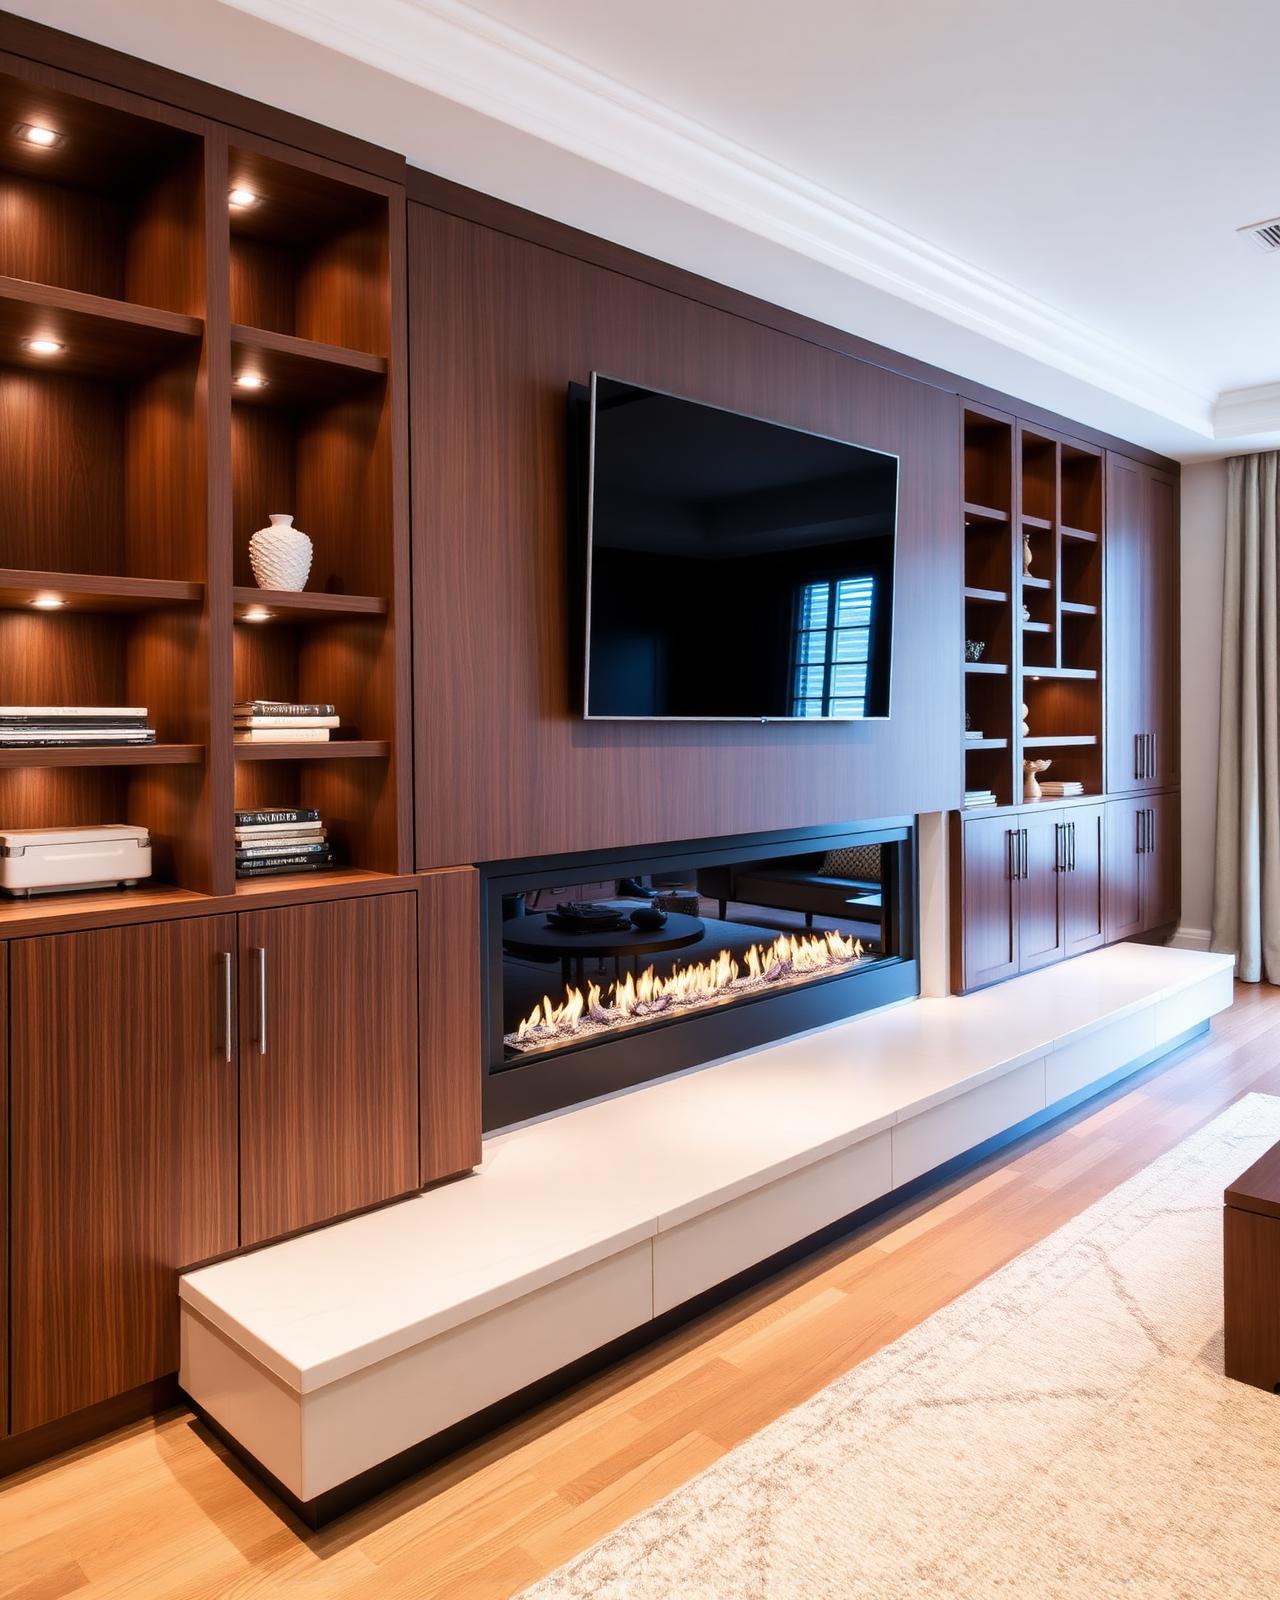
Custom cabinetry, libraries, integrated media walls, banquettes and panelling — designed so the architecture and the joinery read as one piece.
 Layer 05
Casing profiles, baseboard heights, panel doors, hardware and the alignment of every reveal — the layer that quietly tells you whether the remodel was finished carefully.
 Layer 06
Plaster or drywall finish levels, paint sheen by surface, stain colour on the millwork and floor — the last decisions, but the ones every visitor reads first.
Layer 01Walls moved, openings widened, sightlines opened, and circulation rethought. The single most consequential layer of any interior remodel — and the only one that is locked in by framing.
Layer 02Recessed lighting, layered ambient, task and accent circuits, dimming, dedicated decorative fixtures and the electrical capacity to support them — coordinated against the ceiling before drywall closes.
Layer 03Levelling the substrate, transitioning between rooms without thresholds, choosing engineered or solid hardwood for the conditions, and resolving where stone meets wood.
Layer 04Custom cabinetry, libraries, integrated media walls, banquettes and panelling — designed so the architecture and the joinery read as one piece.
Layer 05Casing profiles, baseboard heights, panel doors, hardware and the alignment of every reveal — the layer that quietly tells you whether the remodel was finished carefully.
Layer 06Plaster or drywall finish levels, paint sheen by surface, stain colour on the millwork and floor — the last decisions, but the ones every visitor reads first.
Chapter Two
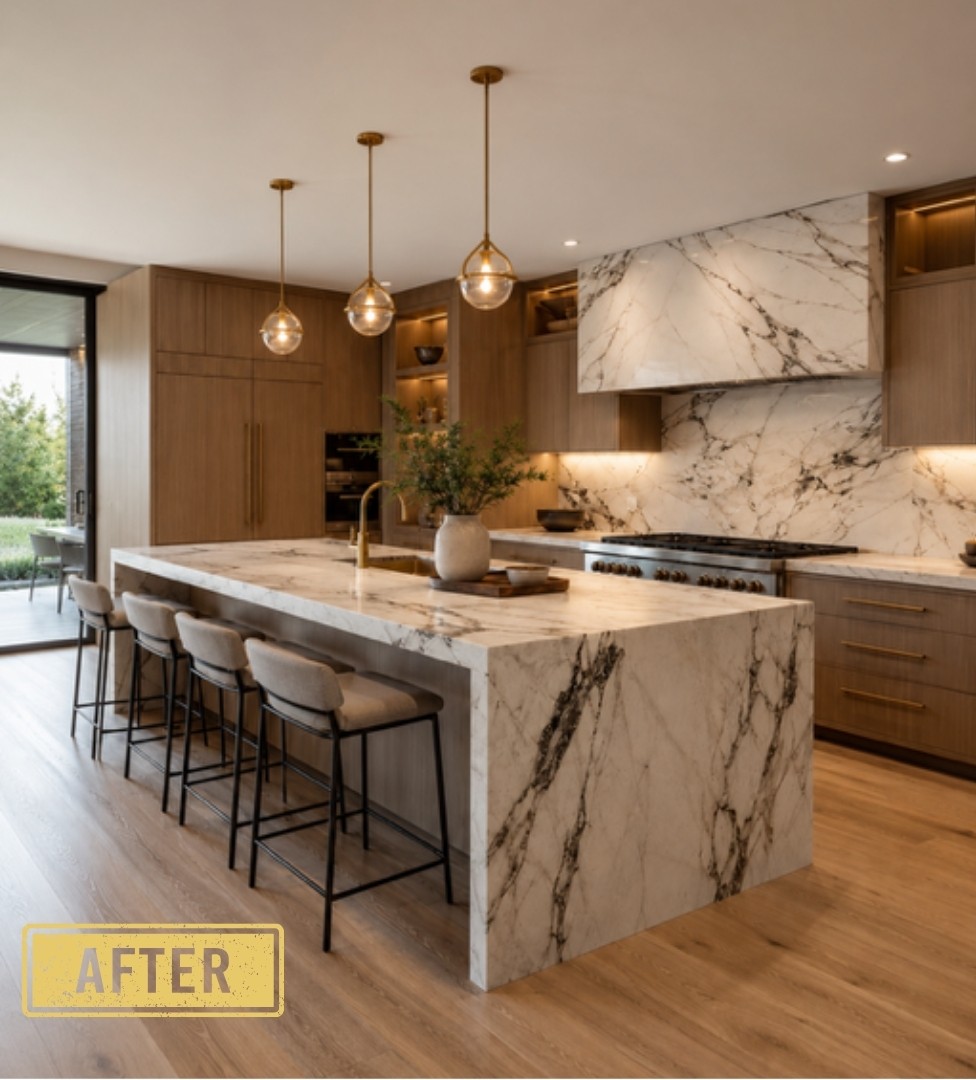
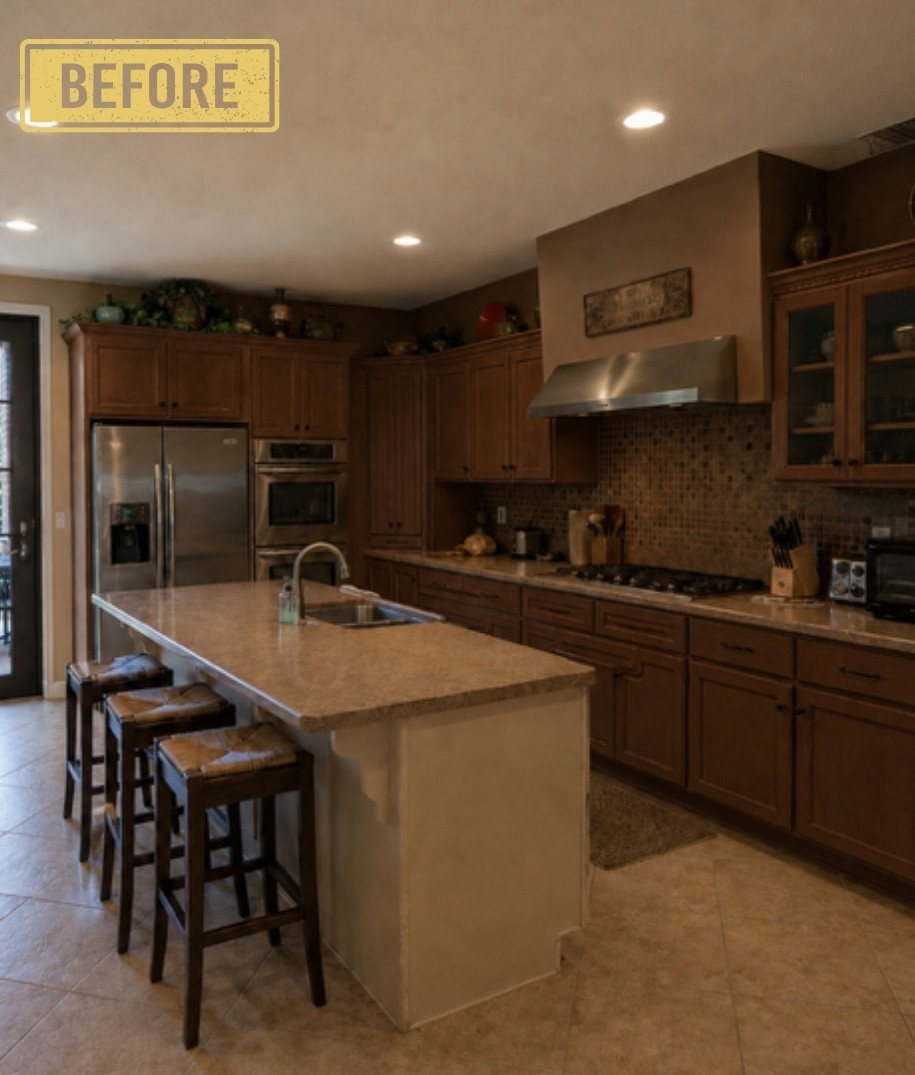
The same room can read as dated or considered with almost the same material cost. What separates them is the sequence of decisions: layout before finishes, lighting before colour, trim alignment treated as architecture rather than as decoration.
When an interior remodel feels effortless, it is almost always because someone protected that sequence, refused to start the build before the decisions in front of it were closed, and stayed involved long enough for the last details to align.
Next Step
See what a deliberate remodel looks like on your home.
Look Up
Chapter Three
How an interior remodel is actually run when the brief is taken seriously — and why most of the value is created before a single wall is opened.
We walk every room with you, listen to how the house is actually used, and capture the constraints before talking about solutions. The brief is what every later decision is checked against.
Layout options are sketched first — wall moves, sightlines, ceiling heights, daylight paths — and tested against the brief before any finishes enter the conversation.
Architectural, electrical, mechanical and millwork drawings are developed in parallel, with the finish and lighting palette built alongside so nothing is decided in isolation.
Permits filed, long-lead items released, trades scheduled around them. Most interior remodels are won or lost in this phase — it controls every date that comes after.
Demolition, framing, mechanical rough-ins, drywall, millwork, flooring, paint and decorative fixtures — sequenced under one project lead with the design team in the loop.
A walk-through together with the design and trim leads, every detail logged and resolved, and the final document set handed over so the home is fully documented from day one.
Appendix
Six terms that come up in every serious project, in the language we actually use on site. Worth knowing whether you build with us or with anyone else.
Term
The discipline of making casings, baseboards, reveals and ceiling lines actually meet across rooms. Most of what reads as 'high end' in an interior is alignment, not material cost.
Term
The stacked thickness of subfloor, underlayment, finished floor and transition. Resolved at the drawings stage so that one room does not finish 9mm higher than the next.
Term
The trim that frames doors and windows, and the joint used where moulding profiles meet at internal corners. Coped joints stay tight as wood moves; mitred joints do not.
Term
A drawing that calls out what is being kept, what is being removed and what is being protected. The first set of drawings on any responsible interior remodel.
Term
Even on a cosmetic-feeling remodel, fire separation, smoke alarm interconnection, GFCI/AFCI coverage and bedroom egress dimensions can change the design. Reviewed up front, not at inspection.
Term
A single coordinated document listing every finish — flooring, paint, stain, tile, hardware, plumbing fixture, light fixture — keyed to rooms. The end of debate during construction.
The terms above show up on every drawing we issue. Knowing them changes the quality of every conversation that follows.
Continue the conversationBy The Numbers
of an interior remodel budget typically lives behind the finishes — framing, mechanicals, drywall, trim labour.
is the typical lead time on a custom lighting fixture — long enough to control the entire ceiling sequence.
is the practical minimum for a single living room: ambient, accent, decorative, and switched outlets.
is the maximum substrate variation we accept under engineered wood — anything more telegraphs through the finished floor.
Reference Projects — Goldstein Construction
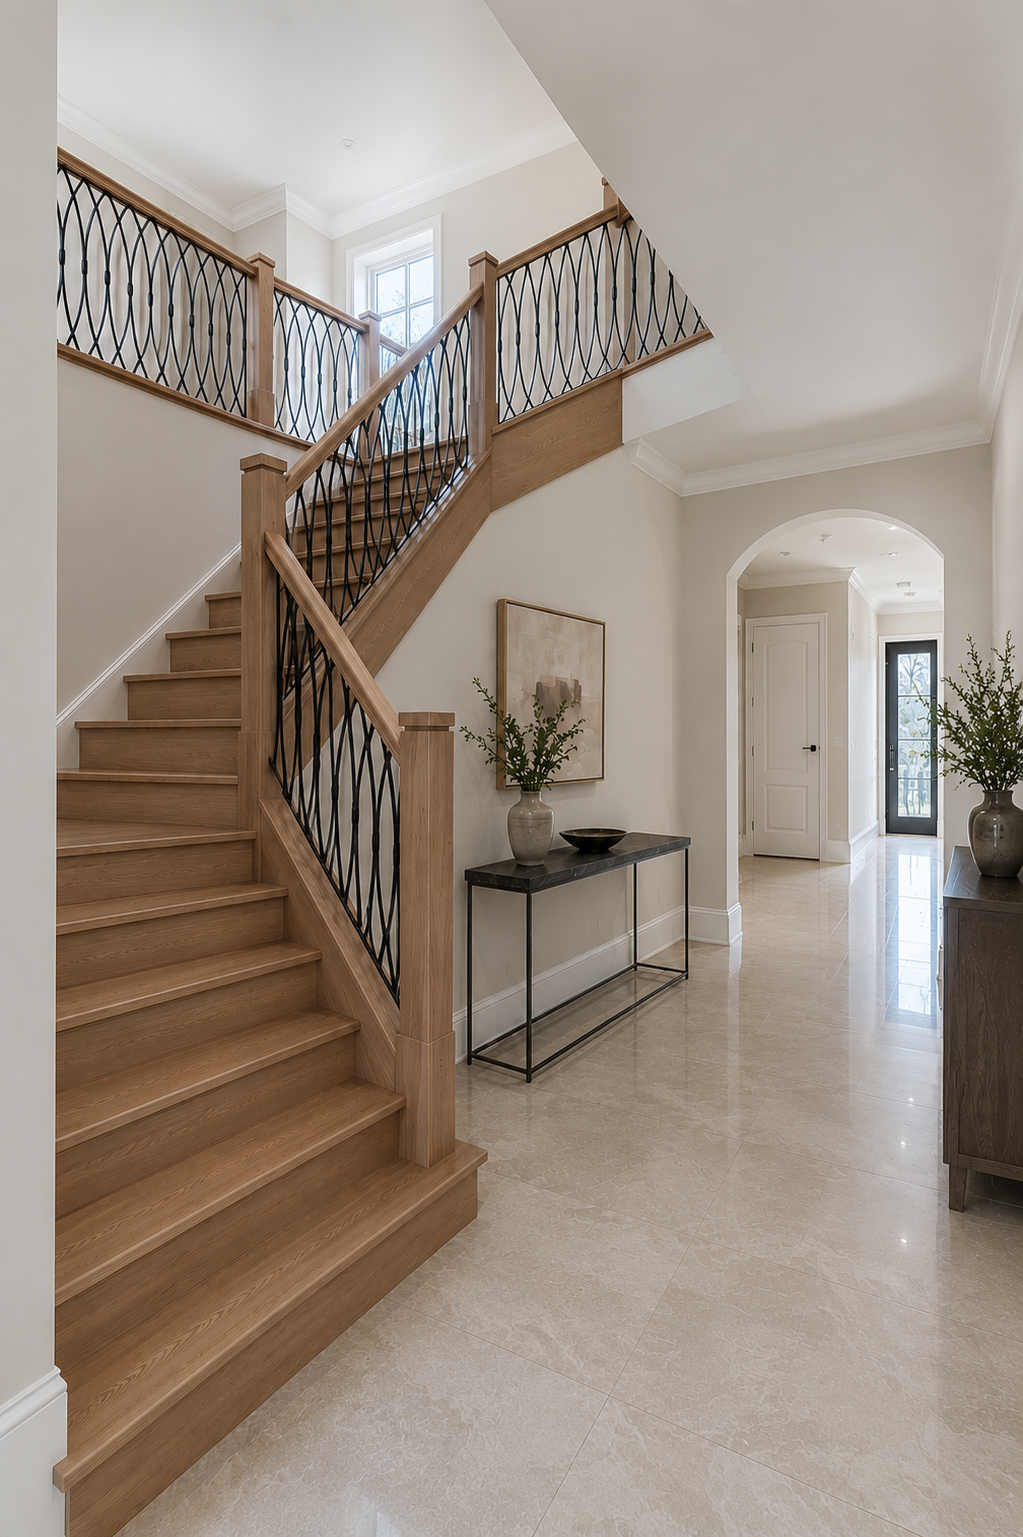
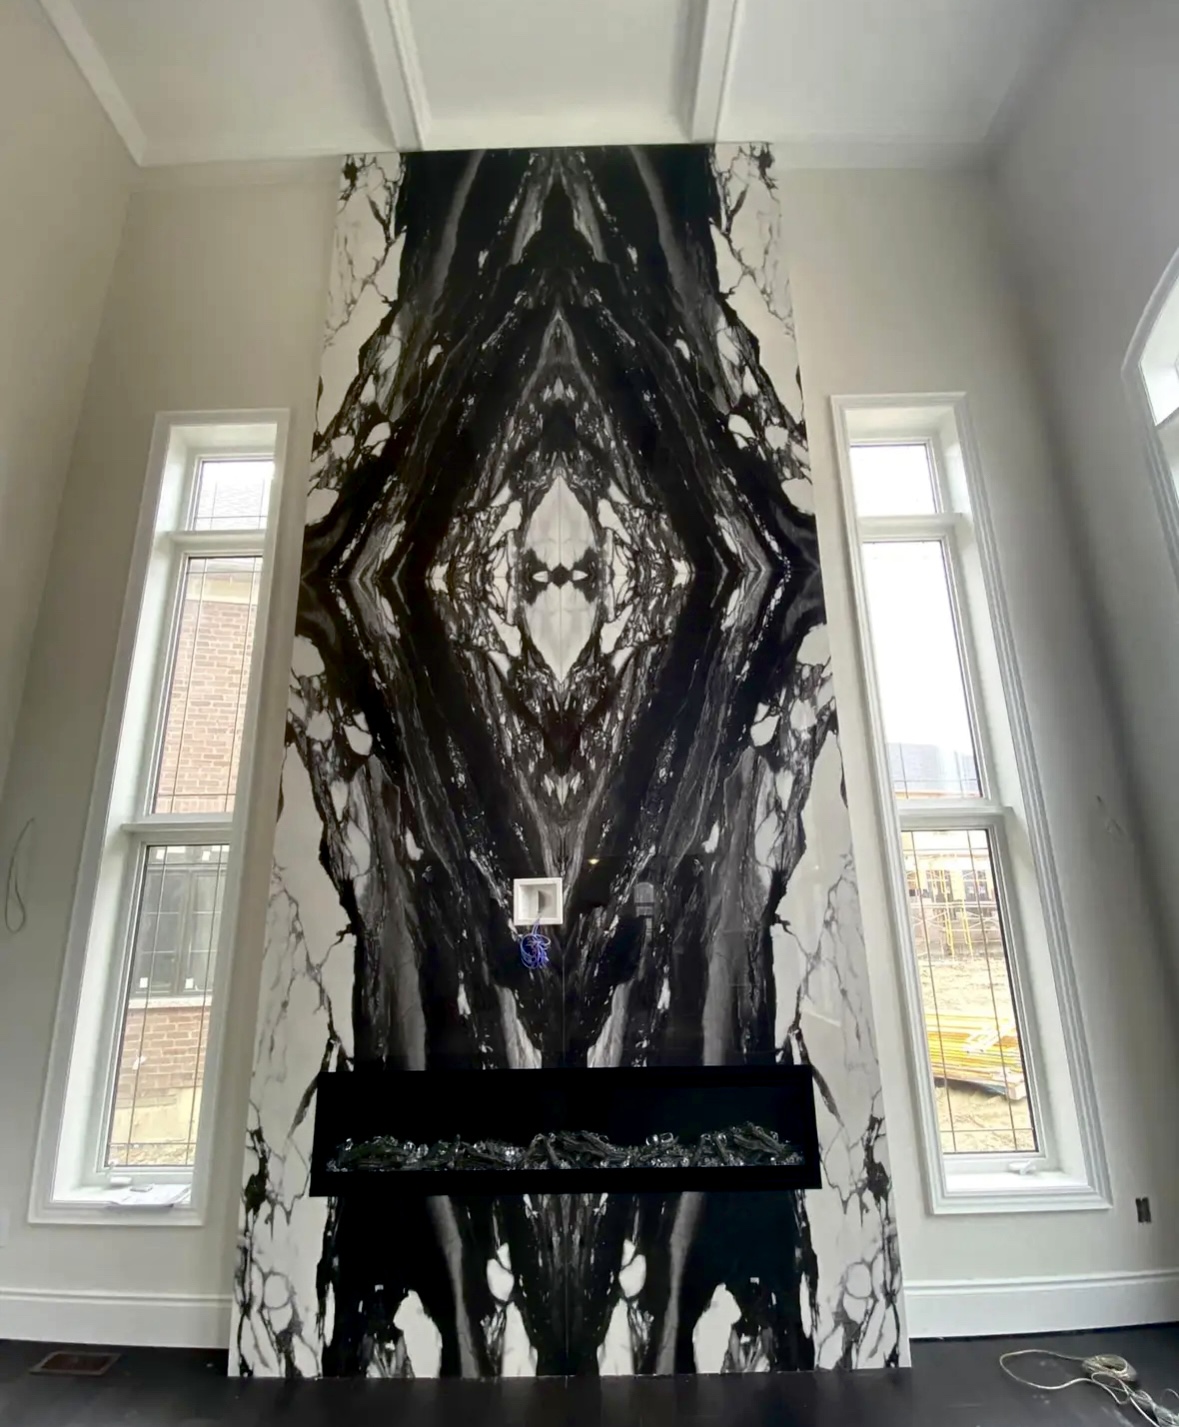
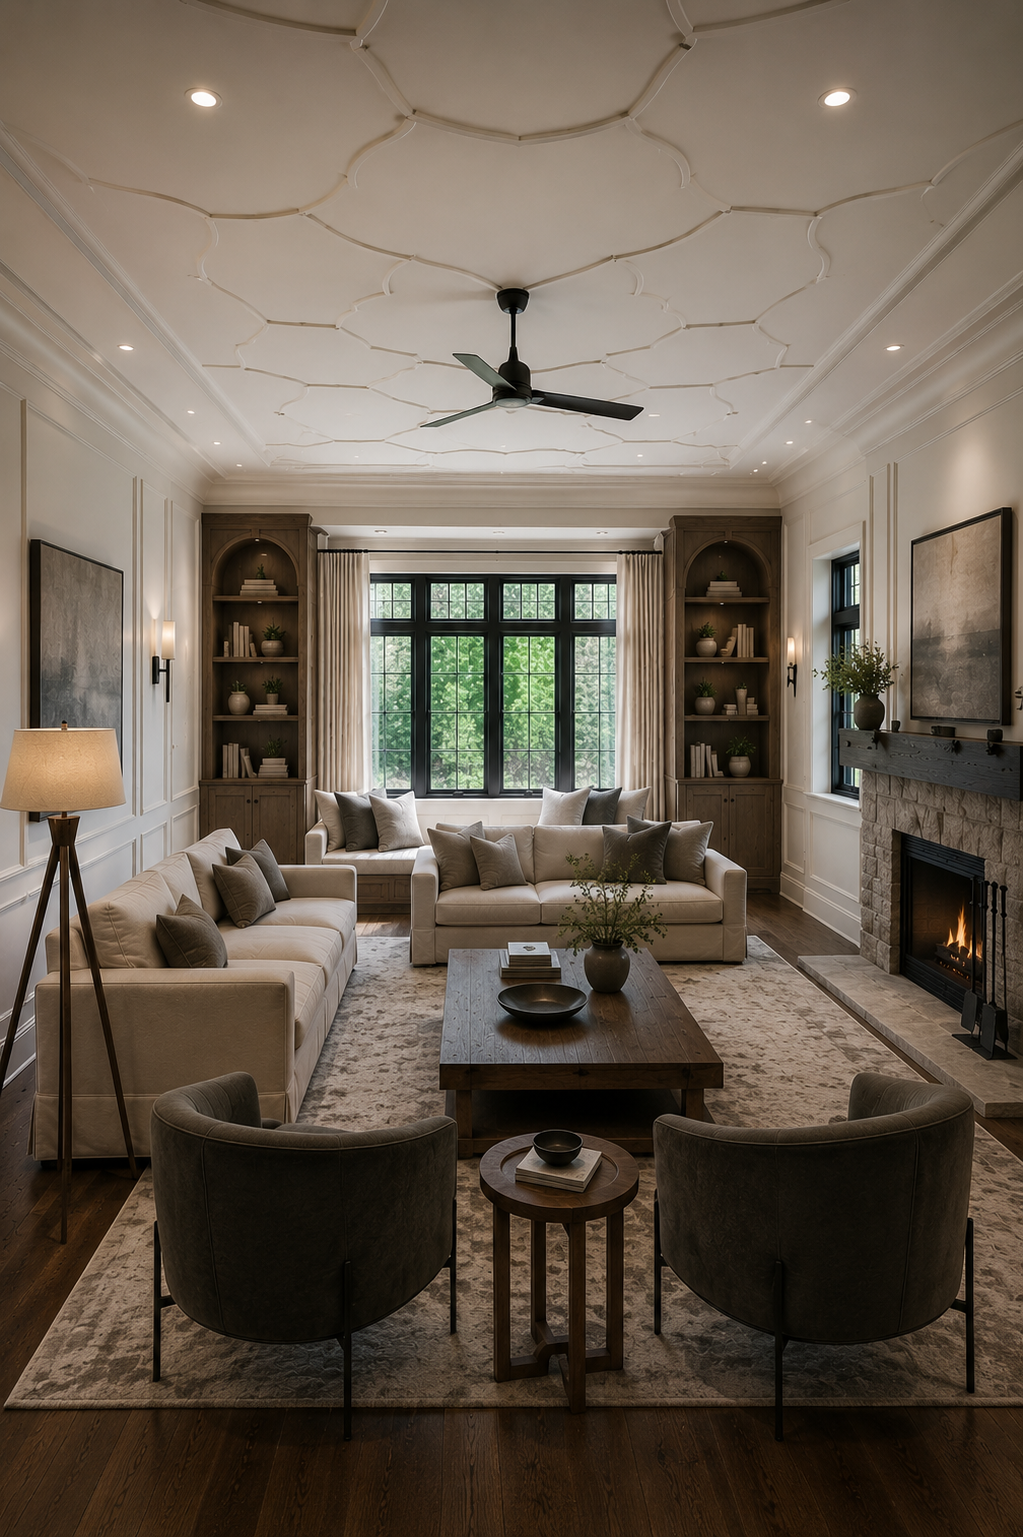
Real work delivered by our team — staircase, feature wall and living-room millwork from three separate custom interior remodels in the Greater Toronto Area.
See It Built
Three projects, three remodels — one disciplined process.
A Note On Materials
A finish schedule is not a shopping list. It is a coordination document. The flooring decides the build-up at every threshold; the stone decides the cabinetry overhang; the paint sheen decides what the lighting actually looks like at night. The earlier those relationships are mapped, the later the actual finish can be chosen without disrupting anything.
Subfloor, levelling and acoustic underlayment are committed before any finished floor is ordered.
Colour temperature and lumen levels are specified before the paint colour is approved on swatches.
Things To Watch For
None of these will make a project fail on day one. They all show up two or three years later — in a way that is far more expensive to fix than it would have been to avoid.
The Shortcut
The Standard
Build It Once
If the standard above matters to you, the next step is a short call.
End Note
If you are early in the thinking — still sketching, still arguing about walls, still unsure whether the project is a remodel or a renovation — that is exactly the right time to talk. The best decisions on an interior remodel are made before anyone is in a hurry.
Reader Questions
The questions that come up most often before an interior remodel starts — and the answers we give in person, written down.
Interior design is the curatorial layer — colour palette, furniture, art, soft finishes. Interior remodeling is the constructed layer underneath it: moving or removing walls, raising ceilings, replacing trim and flooring, rebuilding the millwork, re-running electrical and HVAC where needed. A design scheme cannot rescue a remodel that was framed wrong, and a remodel cannot reach its potential without a design intent guiding it. The two disciplines are paired, not interchangeable.
Often, yes. Permits are tied to scope, not footprint. Anything that touches structure (removing or modifying a load-bearing wall, altering a stair, changing a beam), plumbing relocations, new or extended electrical circuits, gas appliances, HVAC modifications, or a new bathroom rough-in typically triggers a permit. Cosmetic-only work — paint, replacing flooring like-for-like, swapping cabinetry on the existing footprint, changing fixtures within existing rough-ins — usually does not.
Layout first, then ceiling and lighting plan, then the millwork and built-ins that live on the walls, then materials and finishes, and only then colour. Most projects that feel incoherent at the end were decided in the reverse order — paint colour chosen before anyone knew where the lights would land. The discipline of working from architecture down to finish is what keeps an interior reading as a single intentional space.
From the day a homeowner first calls, count three phases. Design and documentation usually takes six to twelve weeks depending on scope. Permitting and procurement runs in parallel and often controls the start date — long-lead millwork, stone and specialty lighting can sit at the front of the schedule. Construction itself ranges from four to six weeks for a single room with light structural change, to four to six months for a coordinated multi-room interior remodel.
The single largest driver is decisions made after construction has started — a change to the lighting plan two weeks after the ceiling was closed, a new tile chosen after the layout was set. The second is concealed-condition surprises in older homes: out-of-square framing, undersized electrical panels, plumbing that does not run where the drawings assume. Both are controlled by spending more time at the front of the project and less time during it.
Three things, almost always. First, the alignment of trim — door casings, window casings, baseboard heights and crown profiles that actually line up across rooms instead of stopping randomly at thresholds. Second, the lighting layered as a system — ambient, task, accent and decorative on independent circuits, not a single overhead per room. Third, millwork that meets the architecture cleanly — built-ins that die into the ceiling, not into a soffit added to hide a gap.
Talk to a Builder
Share a few details and we'll get back to you to set up a free consultation. The more clearly you can describe what you're planning, the more useful the first conversation will be.